You can make a recording or streaming of yourself using the Streamlabs OBS, and this is one piece of fantastic software anyone can make good use of and get excellent results. You might be wondering why the name streamlabs OBS, but its proper name is open broadcaster software streamlabs, and this post is out to show you how to record with the streamlabs obs software. Welcome officially to this well detailed and interesting post.
People who are new to this software still wonder or doubt if recordings can be done using this software, and the simple answer to this question is yes. You can make recordings and streaming using the streamlabs obs software. Interestingly, making recordings with this software is very simple and less confusing, and that is exactly why we have decided to bring you this post so you can have a very clear idea of the steps involved.
There are so many people who are of the idea and opinion that the streamlabs obs software is one of the most exciting and practical software that can be used for making videos and recordings. It comes with a simple and easy to work with interface which also features several recording modes, and while capturing gameplay, you can be able to make recordings either using any of the open tabs on your desktop.
Streamlabs Obs Audio
Before we get into the steps involved when wanting to record with the streamlabs obs, let us dive deeper into streamlabs audio. It is a known fact that your video will not mean so much if its audio quality isn’t as clear as you would want or desire it to be. This is because anybody viewing or watching your videos will want to hear every word you say clearly, so capturing tone is what you must be good at when working with the streamlabs obs software.
Before going ahead to make use of all the available settings on the streamlabs obs software, you should ensure that all devices you intend making use of like speakers and microphones are recognized by the streamlabs obs software. If you are new to the streamlabs obs software, you are likely to find navigating your way through audio very difficult. This is where the following steps to take comes in;
- Find your way to the settings tab on the software, and proceed to audio settings
- Here, you will be provided with the option of adding a microphone or desktop audio device. The streamlabs obs will easily recognize this device once it gets connected.
- Click on the device you want to connect to the streamlabs obs software and exit the audio settings page
You can see how simple it is to add a speaker or microphone device to your streamlabs obs software for proper and clear audio coverage, and one thing we also want our readers to note is the steps we have just provided them with when connecting an audio device is what they will also follow if they want to add another device or switch to a different audio device entirely.
Check This Out – Numark Mixdeck Express Review
How To Record With Streamlabs Obs
Like we mentioned at the beginning of this post, recording using the streamlabs obs software is one that involves a simple and straightforward process. Everything about this amazing software is smart, smooth, and super easy, and you can tell from the steps we have provided you with when talking about getting a clear voice recording while using this software. Now, let us talk about steps to take when making a video recording on the streamlabs obs software.
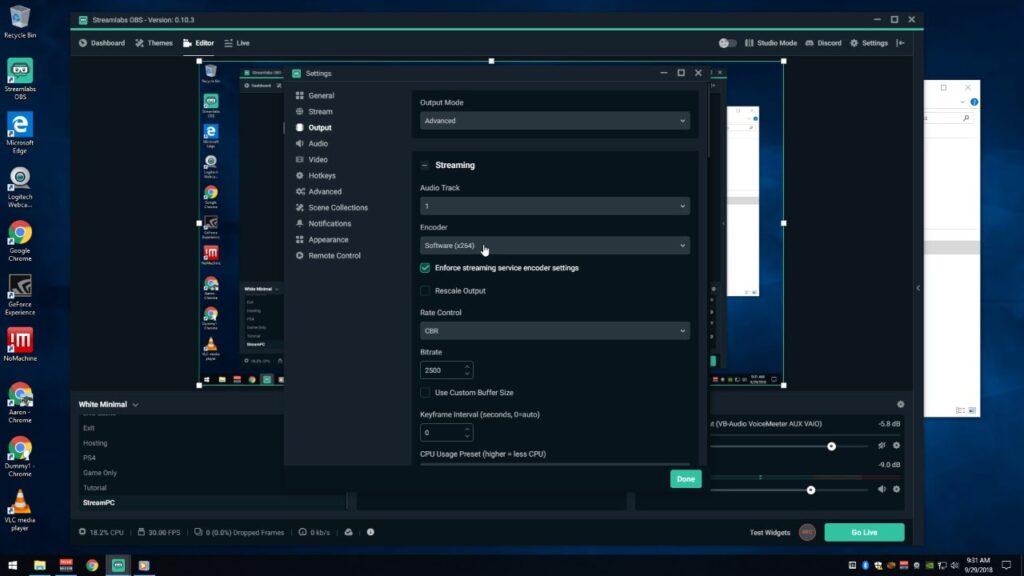
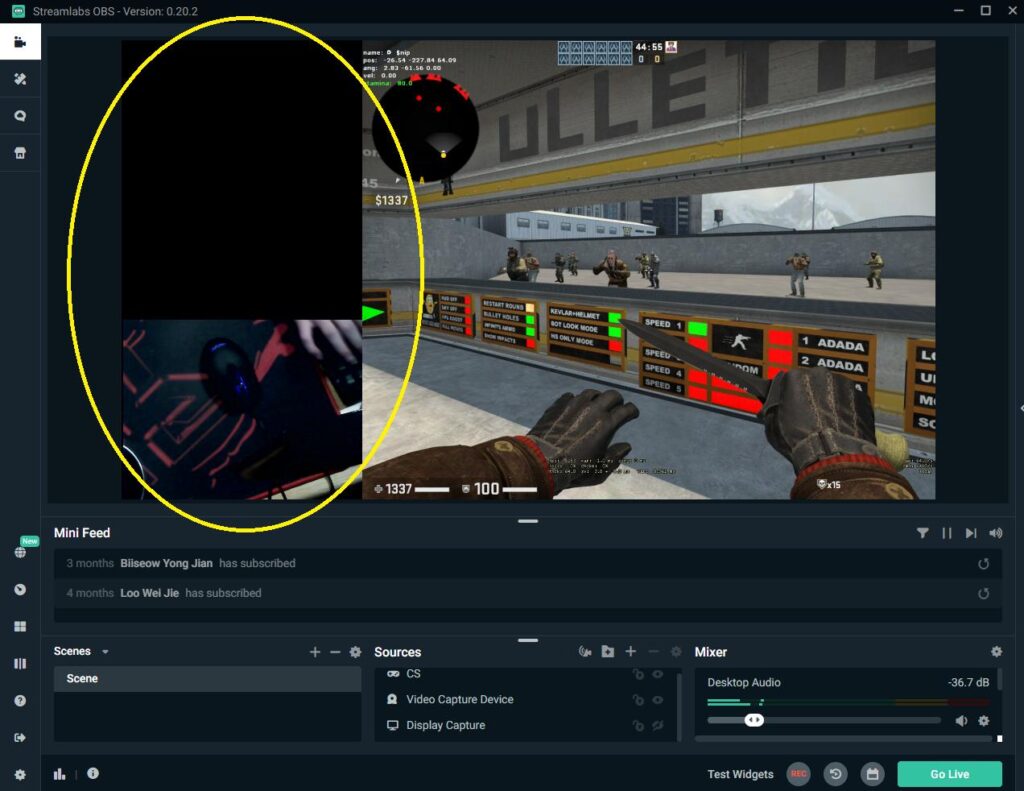
When it comes to recording on the streamlabs obs, the first step you must take is opening the streamlabs obs client. After opening the streamlabs obs client, you will see the go live option on the screen, but make sure you do not click on the go live button yet. However, there is a recording button beside it, and this is the button you will have to click on if you want to start recording. Once you are done with the recording, locating the video files is what’s next to do.
Go to the windows search box and see if you can search for the videos, and the windows search box can be found at the bottom of your screen. Surprisingly, you can make a recording of yourself without having to stream if you go with the steps we have just outlined for you, and it will also interest you to note that you can do both at the same time. This means you can stream yourself and make a video recording of yourself at the same time.
The easiest way to go about this is by clicking on the go live button which starts streaming your immediately, and clicking on the recording button which starts making a recording of you. Do not forget that audio clarity is very important at this point, and we have outlined the crucial steps that you should follow so your audio can be crisp and crystal clear.
Interesting Post – Midas M32R Review
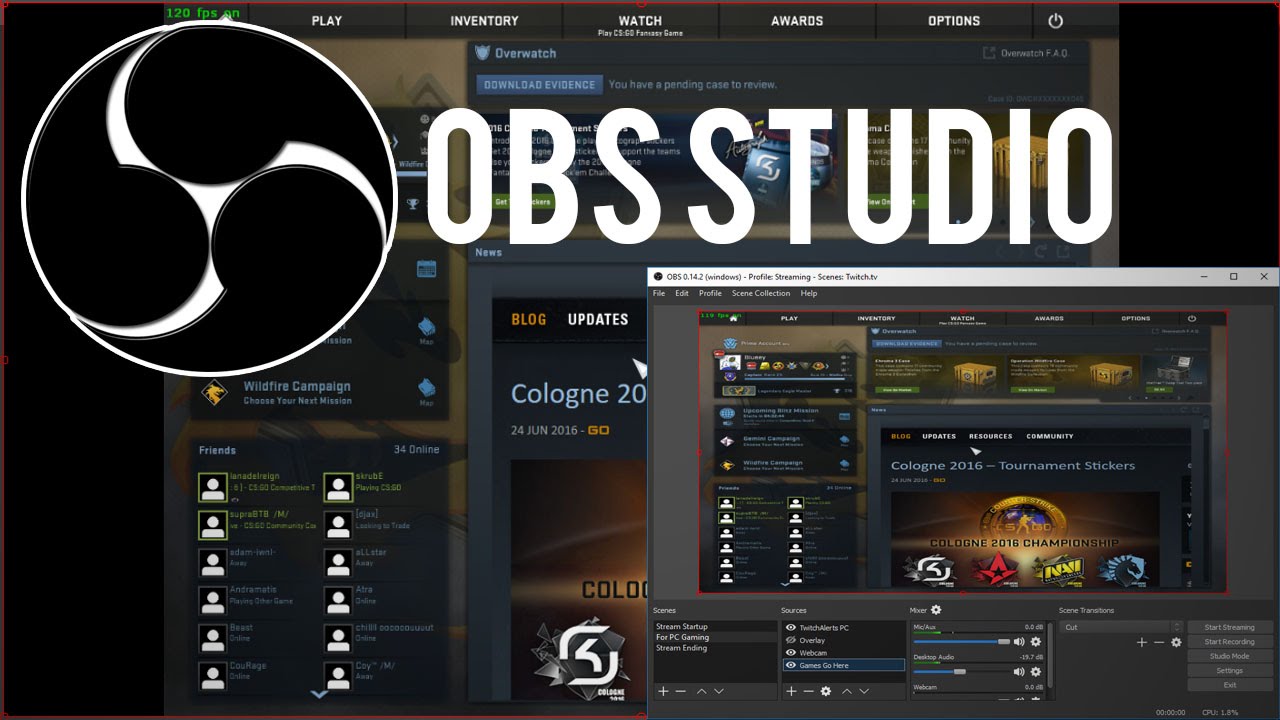
One question that people get to ask often is which is the best between OBS and streamlabs OBS? This is a very common question that pops up on the internet every now and then, and people tend to pick what really works for them. What this means is every streamer or recorder has his or her preference, but we can sum up both software with a simple statement. The basic version of streamlabs OBS is the OBS.
Working with the streamlabs OBS means you are working with an upgraded, user-friendly, and better software version for your streaming and recording purposes, and all the interesting options that it comes with makes it effective and fully functional for everyone. Surprisingly, these both of these software are open source software, meaning you can try them out for free at first. This helps you decide which you will like to work with at the end.
The order in which you click on the buttons when you want to stream and record at the same time isn’t important, but what really matters is ensuring that you click on both buttons since they serve different purposes. Now you can see for yourself that the steps involved in making a recording or streaming using the streamlabs obs is a very short, precise, and simple one just like we stated at the beginning of this post.