Lets’s show you how to bridge a 4 channel amp and emphasize on the steps to take when you want to bridge a 4 channel amplifier.
Any good music lover knows how important an amplifier is when offering music of high and good quality.
Read This – How To Tune A Monoblock Amplifier
Amplifiers are designed to bring out the excitement, fun, and details in any music, and it doesn’t matter whether you are listening to soft or loud music.
Breathing the much-needed life into your music is what an amplifier is designed to do, but getting the best out of an amplifier rests on finding one that will work for you.
There are various amplifier types on the market, and finding the one that will offer you the desired results is key.
Every amplifier isn’t designed to be the same or function the same way, and the amount of power they use varies from one to the other.
An amplifier’s channel is the power required in powering up your speakers, but the number of speakers you have will determine what amplifier channel you would go for. The types of amplifier channels we have today are;
- Monoblock amplifiers
- Two-channel amplifiers
- Multi-channel amplifiers
Furthermore, here are a few points you need to take into consideration:
- Type of amplifier
- Amplifier power rating

Doubling your amplifier’s output is what bridging a 4 channel amplifier will do, and this makes driving more power into your subwoofers and speakers.
Having the right and basic knowledge on how to bridge a 4 channel amplifier will make the entire process very simple for anyone, and you also need to have a good idea of your car’s wiring system. Knowing how to connect an amplifier to your car’s audio system is also crucial.
All of these things we have mentioned will make bridging a four channel amplifier very easy, but you shouldn’t rule out that the procedure can be relatively tough and complicated.
However, knowing the exact steps will make it no longer tough irrespective of how many channels the amplifier comes with. The bridging process also remains the same when you bridge a single-channel amplifier.
We are trying to say that the step you take when bridging a two-channel amplifier can also be applied when bridging a 4 channel amplifier.
If you have a four channel amplifier and are considering bridging it, this is the right page for you as we will take you through every step shortly. However, before showing you these steps, here are things you need to have ready.
Interesting Post – How To Adjust Car Amplifier Settings
Content Navigation
What You Need To Bridge A 4 Channel Amp
It would help if you had some elements ready when you want to bridge a four channel amplifier and let’s take a look at these materials right away.
Four-Channel Amplifier
Make sure the amplifier you have is the one that features a bridging option, and this means you have to research what four channel amplifier will be suitable for bridging.
Screwdriver
A screwdriver will be needed when bridging a four channel amplifier. You will need it for loosening and hooking up screws.
Wire Stripper
This tool is needed when you want to strip a wire apart, and stripping wires is something you will have to do when bridging an amplifier.
Speaker Wires
Speaker wires are very necessary as you will have to connect them to the terminals on the speaker.
Manual
This refers to the amplifier’s manual, and the manual will throw more light on whether you can bridge the amplifier or not. If the manual says do not bridge, then you should avoid doing that, so you don’t cause the amplifier irreparable damages.
How To Bridge A 4 Channel Amp
Here are the steps involved;
Step One
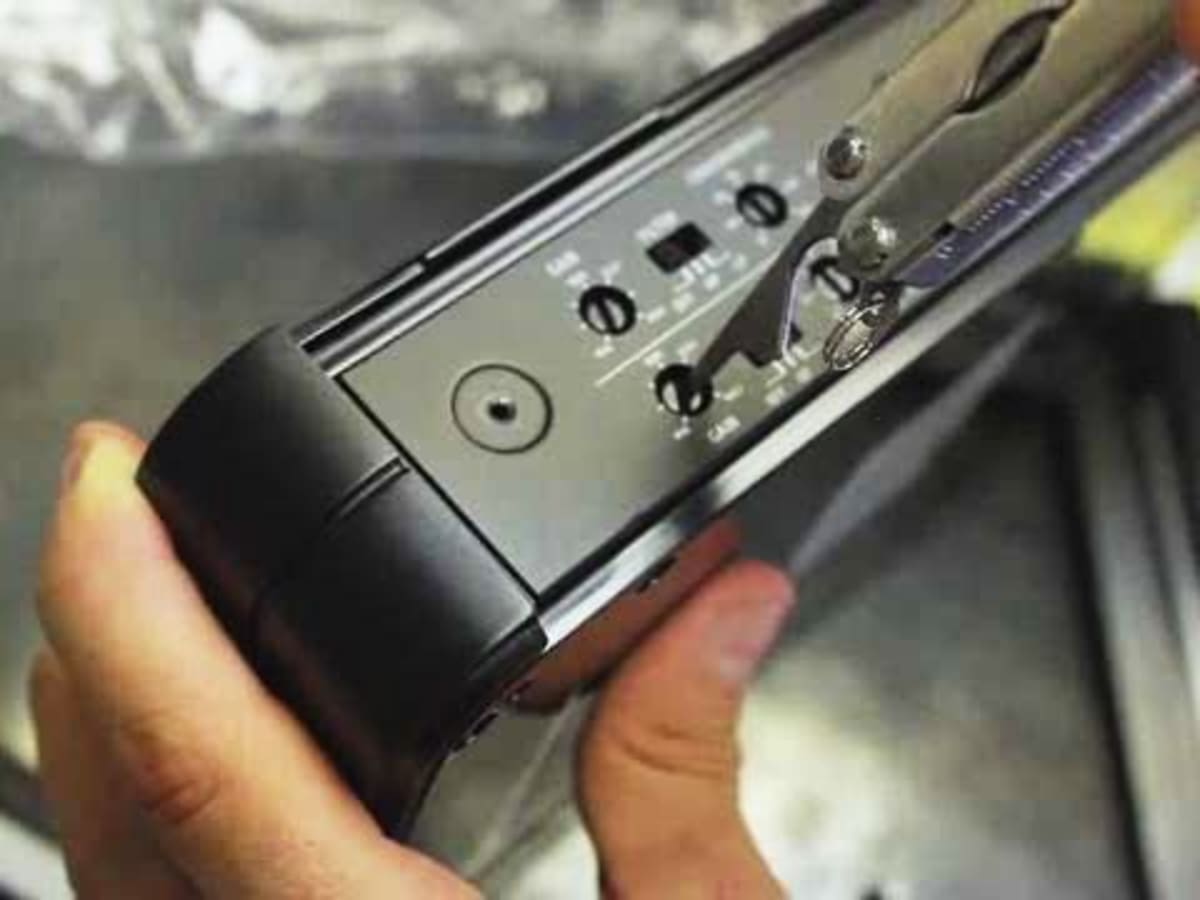
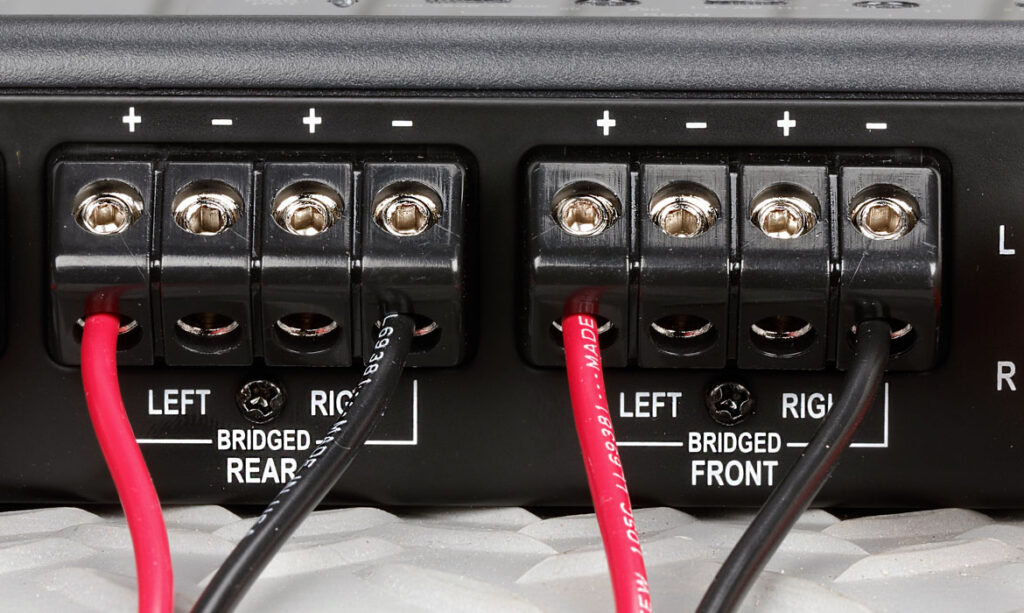
Go to the amplifier and locate all of its speaker terminals, and you will find four terminals on it. These terminals involve the negative and positive terminals, and there is a screw-down clamp that ensures these speaker wires stay in place when attached.
Step Two
You should run speaker wires from one positive terminal to the other positive terminal, and we are talking about terminals of the first subwoofer.
You will need to cut about half-inch of the insulation wire from the two ends using a wire stripper, and you can use the down clamp to make sure the wires stay in place.
Step Three
The next step you must take is to run speaker wires from one negative terminal to the other negative terminal, and we are talking about terminals of the first subwoofer.
Furthermore, you will strip out half an inch of insulation wire at both ends while using the speaker wire clamp down to hold the wires in place securely.
Step Four
In this final step, you will repeat the same steps you took in steps two and three, and you should repeat these steps for the third and fourth channels.
You can run speaker wire from the positive terminal of the third channel subwoofer to another positive channel of the third channel subwoofer. The same step should be repeated when running the speaker wire from the negative terminal at one end to another.
So many people find it difficult to get this done, and several people have ended up paying professionals or going to mechanic shops to get it done.
Now that we have shown you all of the steps and procedures involved, you can see how simple these steps are. You can see that you do not need to pay money to anyone to get it done, and if you want to bridge your four-channel amplifier, then go ahead and make use of these steps without hesitation.
We hope you have found this piece of article helpful, and we encourage you to go ahead and try out these steps on your own.
Related Post
How To Tune A Subwoofer Amplifier